Bike fit has gotten overcomplicated by the industry — you’re told you need a $400 professional fitting session before you can ride comfortably. As someone who has ridden bikes in a range of setups from terrible to quite good, I’ve learned that most of the meaningful fit gains come from adjusting a few specific variables that you can dial in yourself over a few rides. Here’s what actually matters and how to set it.
Saddle Height — The Foundation of Everything
Saddle height determines pedaling efficiency and leg extension. Too low and you’re grinding inefficiently, shortening power output and fatiguing your knees faster. Too high and your hips rock side to side, reducing power transfer and eventually causing hip flexor or IT band issues. Both are common, both are fixable.
Starting point method: sit on the saddle with your heel on the pedal at the bottom of the stroke (6 o’clock position). Your leg should be fully extended with no hip tilt. When you move your foot to proper pedaling position — ball of foot on pedal — you’ll have a slight bend at the knee, around 25–35° of flex at the bottom of the stroke.
For mountain biking specifically, most riders run their saddle slightly lower than road or XC settings to allow more hip movement and easier weight shifts on technical terrain. If you’re on a trail or enduro bike, drop saddle height 5–10mm from the theoretical maximum for better bike handling. Probably should have mentioned this first — the “heel method” gives you the road position, and trail riders generally want a bit lower than that.
Saddle Fore-Aft Position — Knee Over Pedal
With your cranks horizontal (3 and 9 o’clock), your front kneecap should be directly over the pedal axle or slightly behind it. Moving the saddle forward puts more emphasis on quads and creates a more aggressive position. Moving it back creates a more relaxed climbing posture and shifts power toward glutes and hamstrings. Most trail riders benefit from a slightly rearward position to preserve hamstring engagement on long climbs.
Saddle Tilt — Usually Level or Slightly Nose Down
A level saddle is the starting point. Slight nose-down (1–3°) can relieve pressure on soft tissue if you experience numbness on long rides. Nose-up puts pressure on soft tissue and is almost never the right answer unless you’re riding a very aggressive position where you’d otherwise slide forward. I’m apparently someone who needed about 2° nose-down to ride for more than 90 minutes without numbness — your mileage may vary, but start level and adjust from there.
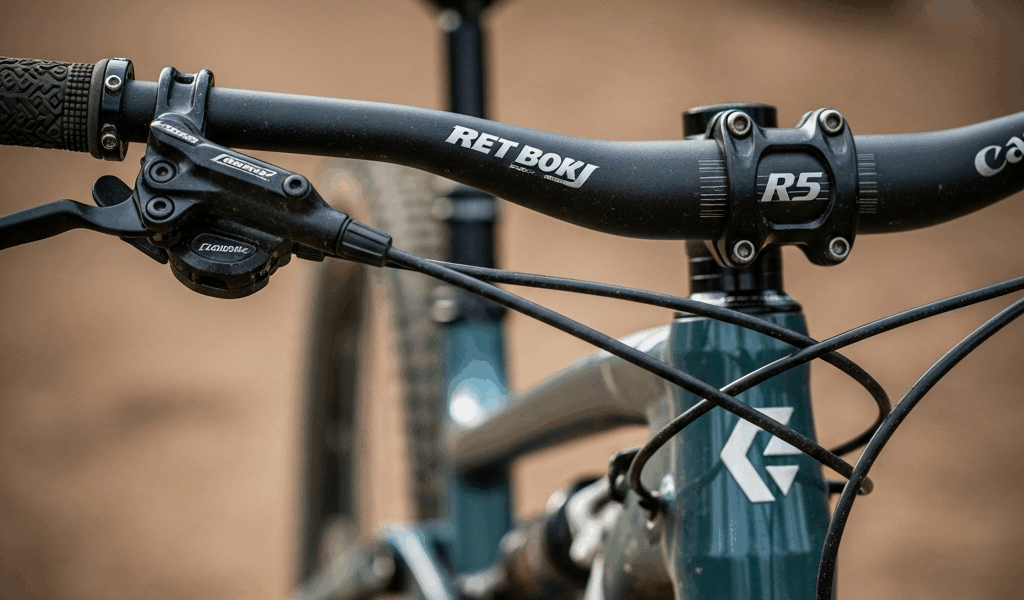
Handlebar Height — Lower Isn’t Always Faster
Handlebar height affects comfort, weight distribution, and handling character. Lower bars shift weight forward, improve steering precision, and feel faster — but too low creates neck and shoulder fatigue on long climbs and makes it harder to get your weight back on steep descents.
Most trail and enduro bikes have a fairly upright stock position. If you’re experiencing lower back pain, your bars may be too low. If the bike feels lazy and wants to run wide in corners, raising bars reduces front wheel traction. For most trail riders, bars at or slightly above saddle height creates a comfortable, balanced position. Stack height is adjusted via stem height — flipping the stem, adding or removing spacers. A 10–20mm change makes a noticeable difference in riding feel.
Reach — The Most Important Dimension
Reach describes how far forward the bars sit. Too much and you’re stretched out, struggling to get weight over the front on climbs and developing tension in your neck and shoulders. Too little and the bike feels cramped and twitchy.
Modern trail geometry runs longer reach than bikes from five years ago. If you’re on a current trail bike in the right frame size, reach is probably close to correct. Stem length is the adjustment tool — typically 50mm on most trail bikes. Shorter stems (35–40mm) slow steering slightly but create a more comfortable fit for riders who feel stretched. Longer stems (60–70mm) are increasingly rare on trail bikes.
Bar Width — Wider Than You Think
760–800mm is standard on enduro bikes; 740–780mm on trail bikes. Wide bars lower your center of gravity on the bike, improve leverage for steering corrections, and create a more stable platform in rough terrain. If your bars feel too wide and your shoulders are fatigued, cut them down 5–10mm per side. If you’re struggling to control the front wheel in loose terrain, wider is usually the answer.
Make Changes Incrementally
Don’t change everything at once. Adjust one variable, ride a familiar trail, and assess. The goal is a position where you’re not thinking about the bike — it responds to inputs naturally and doesn’t cause fatigue or discomfort after two hours on trail. That’s what good fit feels like, and once you have it, you’ll immediately notice when something is off.


Stay in the loop
Get the latest trail rise updates delivered to your inbox.