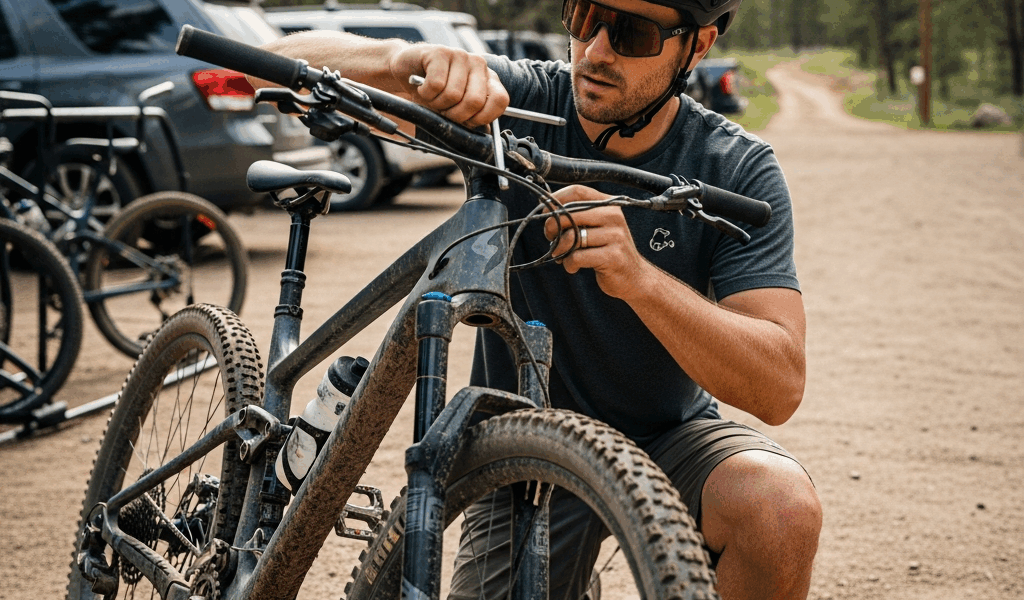
Your new mountain bike handles fine on smooth trail but something feels wrong on rough terrain — your wrists hurt after every ride, your shoulders are tense, and cornering feels vague. The problem is almost certainly in the cockpit setup. Handlebar width, stem length, and lever position affect how you weight the bike, how your body absorbs impacts, and whether you are fighting the bike or flowing with it. Most stock setups are compromises that need adjustment for individual riders.
Handlebar Width: How Wide Should You Go?
Mountain bike handlebars have gotten progressively wider over the past decade — 780mm to 800mm bars are now standard on trail and enduro bikes. But wider is not always better, and the right width depends on your shoulder width, riding style, and the trails you ride.
The starting point: stand naturally with your arms at your sides. Have someone measure the distance from the outside of one shoulder to the outside of the other. Your handlebar width should be roughly equal to or slightly wider than your shoulder width. A 5’7″ rider with 44cm shoulders does not need an 800mm bar — that width forces your arms into an unnaturally wide position that fatigues shoulders and reduces control authority.
Wider bars give you more leverage for steering inputs at low speed and more stability at high speed. They also slow your steering response — the bike takes more effort to turn. For tight, twisty singletrack with trees close to the trail, wide bars can catch on obstacles and force awkward body positions through narrow gaps. For open, fast trails with sweeping turns, wider bars provide a planted, stable feel.
The adjustment is simple: most bars can be cut with a pipe cutter or hacksaw. Cut 5mm from each end at a time, ride, and evaluate. You can always cut more. You cannot add material back. Most riders land between 750mm and 780mm after experimentation. If you are under 5’8″, start at 760mm and work from there. If you are over 6 feet, 780mm to 800mm is a reasonable starting point.
Stem Length: Short Is Not Always Right
Modern mountain bike geometry has pushed stem lengths down to 35 to 50mm on trail and enduro bikes. Shorter stems put your weight further behind the front axle, quicken steering response, and help the bike climb technical terrain without wandering. This is good for steep descents and technical trail riding.
But a stem that is too short creates problems. The steering becomes twitchy and requires constant correction on smooth trail. Your weight shifts too far rearward, unweighting the front tire and reducing climbing traction on steep grades. The reach feels cramped, compressing your chest and limiting breathing on sustained climbs.
Most trail bikes ship with a 40 to 50mm stem. If your reach feels cramped, try a 50 or 60mm stem before changing the bar or the bike. If the steering feels slow and heavy, try going shorter — a 35mm stem quickens turn-in noticeably. Stem swaps are a $20 to $40 experiment that changes how the entire bike feels. It is the cheapest fit adjustment available and one of the most impactful.
For XC riding and longer climbs, a 60 to 70mm stem provides better weight distribution over the front wheel and a more comfortable climbing position. For enduro and technical descending, 35 to 50mm keeps the bike responsive in steep terrain. Match the stem to your primary riding style, not to whatever came on the bike.
Brake Lever Position: The Setup Most Beginners Ignore
Brake lever position is the most commonly neglected cockpit adjustment, and getting it wrong causes wrist pain, hand fatigue, and reduced braking control. Two adjustments matter: the lever angle on the bar and the reach (distance from the grip to the lever blade).
Lever angle: Point the lever blades downward so they align with the natural angle of your forearm when standing on the pedals in attack position — not sitting on the saddle. Most riders need the levers rotated further forward (pointing more downward) than stock position. The goal is a straight line from your elbow through your wrist to your finger on the lever. If your wrist bends upward to reach the lever, the levers are too high. Drop them until your wrist is neutral. This single adjustment eliminates wrist pain for most riders.
Lever reach: Adjust the reach so you brake with one finger (index finger) with the lever blade contacting the finger at the first joint. Hydraulic disc brakes have enough power with one finger — two-finger braking is a holdover from cable brakes. Setting the reach so one finger falls naturally on the lever keeps your other three fingers wrapped around the grip for bar control. Most Shimano and SRAM brakes have a reach adjustment screw on the lever body — turn it until the lever blade sits at the right distance.
Lever position on the bar: Slide the brake levers inward on the handlebar so they are within comfortable one-finger reach without moving your hand from your normal grip position. Many stock setups place the levers too far outboard, forcing you to reposition your hand to brake — a fraction of a second that matters on technical descents.
Grip Choice and Bar Sweep
Grips and bar sweep are the finishing touches on a cockpit setup. Lock-on grips in the right diameter reduce hand fatigue — thinner grips (30mm) require more grip force, wider grips (32 to 34mm) let your hand relax. Riders with larger hands or those who experience hand numbness should try wider grips. Ergon GA2 and GE1 grips have a slight wing shape that supports the outer palm and reduces pressure on the ulnar nerve — the nerve responsible for that tingling-numb feeling in your ring and pinky fingers.
Bar sweep — the backward angle of the bar ends — affects wrist angle. Most mountain bike bars have 7 to 9 degrees of backsweep. Higher backsweep (9 to 12 degrees) places the wrists in a more natural position and reduces strain on long rides. The SQlab 302 and Renthal Fatbar Lite offer higher backsweep options that many riders find more comfortable than standard geometry. If your wrists ache despite correct lever position, backsweep may be the missing adjustment.
Set up your cockpit with everything adjustable: ride a few trails, note what feels wrong, make one adjustment, and ride again. Changing everything at once makes it impossible to know what helped. Small, incremental changes build a cockpit that fits your body and your riding — and a properly fitted cockpit turns a good bike into one that feels like an extension of your body.


Stay in the loop
Get the latest trail rise updates delivered to your inbox.