How to Break In Hiking Boots Without Getting Blisters
Hiking boot break-in has gotten complicated with all the conflicting advice flying around. As someone who’s been on trails for over fifteen years — the Cascades, the Smokies, more overgrown Vermont sidetrails than I can name — I learned everything there is to know about blister prevention the hard way. Specifically on a 9-mile loop in the White Mountains, wearing brand-new Salomon Quest 4D GTX boots I’d pulled straight from the box that morning. By mile four I had silver-dollar-sized blisters on both heels. Finished anyway. My hiking partner still won’t let it go.
What I know now: breaking in boots isn’t just about softening leather. It’s about getting your feet, your socks, and your lacing habits all working together. Do that right, and blisters become optional — not the inevitable tax you pay for being out there.
The Short Answer — Wear Them Before the Trail
Probably should have opened with this section, honestly. Two to three weeks of daily wearing before any serious hike. That’s the rule. Full stop.
I know you bought the boots because a trip is coming up. I know you’re excited. Wear them anyway — around the house, to the grocery store, walking the dog at 7am in the drizzle. Every shortcut I’ve ever taken with new boots has cost me skin. The leather needs time to flex. Your feet need time to map the boot’s specific pressure points, toe box shape, heel cup geometry. No amount of mink oil or saddle soap replaces actual time on your feet. None.
Most blister guides skip straight to moleskin and forget that prevention starts weeks before you ever reach a trailhead. Don’t make my mistake.
Three weeks sounds like a lot — until you’re limping back to your car on day two of a five-day backpacking trip.
Day 1–3 — Indoor Wearing
Put the boots on at home. Walk around on hardwood floors, tile, whatever hard surface you’ve got. Wear the exact socks you plan to hike in — this matters more than people realize. Darn Tough style 1987 in cushion weight runs about $25 a pair and will genuinely change your relationship with footwear. Not cotton. Not thin athletic socks. The sock is part of the system, full stop.
Wear them 30 to 45 minutes on day one. Take them off. Check your feet. Red spots are early-warning hot spots — they’re showing you exactly where friction will happen on the trail. File that information away.
Real pain after 30 minutes of flat indoor walking — not stiffness, actual sharp pressure — means the boots might be wrong for your foot. Hiking boots should fit snug through the heel and midfoot, roughly a thumbnail’s width between your longest toe and the end of the boot. Heel lift should be minimal. If your heel is popping up noticeably with each step, you probably need a half size down or a different lacing setup.
Days two and three, push to 60 to 90 minutes. Wear them while cooking dinner, running errands, whatever. Accumulated foot time is what you’re after, not intensity.
What to Watch For
- Redness on the back of the heel — the heel counter needs more time to soften
- Pinching on the little toe — toe box may be too narrow for your foot shape
- Pressure on top of the foot — lacing is too tight or you’ve got a high instep
- Numbness in the toes — loosen the middle laces, boot is too tight across the forefoot
Day 4–7 — Short Walks Outside
Move outside. Pavement first — sidewalks, neighborhoods, a local park. Start at one mile. Build to two miles by day seven. No trails yet.
Pavement is apparently harder on boots and feet than trail in certain ways — less give, more repetitive impact. That works in your favor here. The boots flex through their full range of motion faster than they would shuffling around your kitchen floor.
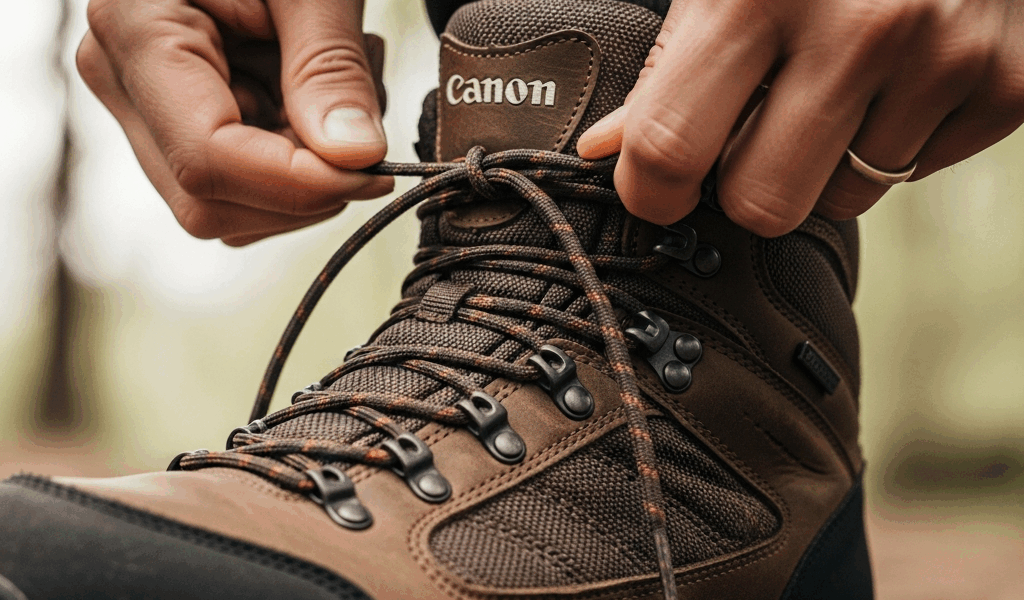
Burned by skipping lace adjustments on my first real long walk, I now spend two minutes before every outing actually dialing in tension. Lace the lower eyelets snug but not strangling, then at the ankle use a surgeon’s knot — loop twice before crossing, not once — to lock that tension before continuing up to the top hooks. Keeps the heel seated in the cup. Reduces the slipping that creates heel blisters.
Different pressure zones need different lace tension, too. Hot spot developing on top of your foot? Skip the eyelet sitting directly over it — lace right past it. It’s called a lace window, and it distributes pressure away from that exact spot. Simple and it works.
By end of day seven, two miles should feel comfortable. The boot flexing with your foot, not against it. Still fighting it? A few more days of neighborhood walking before you touch a trail.
Week 2 — Easy Trail Test
Find a short, flat trail — two to three miles, nothing with real elevation. Load a daypack to roughly the weight you’ll carry on your actual hike. Weight changes everything. It pushes your foot forward in the boot, shifts where friction happens, adds enough heel lift that a barely-acceptable fit becomes a blister factory.
This is where problems show up. Good — you want them to show up here, not on a 15-mile day with no road access for another two days.
Stop at the one-mile mark. Pull the boots off. Check your feet. Any hot spots developing, apply moleskin or Leukotape right then — before the hot spot becomes a blister. That’s the move most hikers skip. They feel the friction, think they’ll deal with it later. “Later” means draining a fluid bubble with a needle by headlamp at 9pm.
If Hot Spots Develop on the Trail
- Stop when you first feel friction — not burning, not pain, friction
- Remove the boot and sock completely
- Apply Leukotape directly to skin — not over a sock, not over moleskin, skin
- Smooth out every wrinkle before the sock goes back on
- Readjust lacing before you start moving again
Leukotape P runs about $12 a roll and stays on through sweat, stream crossings, and multi-day wear in a way that regular moleskin or Band-Aids simply don’t manage. Cut it with scissors — tearing it by hand is a mess.
Blister Prevention Toolkit
Breaking in the boots gets you about 80% there. The remaining 20% comes from having the right gear and actually using it. These aren’t fallback options — they work better alongside break-in than either approach alone.
Injinji Toe Socks
But what are Injinji toe socks? In essence, they’re socks with individual toe pockets — like gloves for your feet. But they’re much more than that. That thin layer of fabric between each toe eliminates toe-to-toe friction entirely. I resisted them for years because they look genuinely ridiculous. I’ve worn them almost exclusively for four hiking seasons now. The blisters I used to get between my second and third toe — chronic, every long hike — disappeared completely. Around $18 to $22 a pair.
Moleskin — Applied Before, Not After
The mistake is treating moleskin like a blister treatment. It’s not — it’s prevention. Apply it preemptively to any spot that showed friction during your break-in walks, before you put the boots on at the trailhead. Dr. Scholl’s moleskin padding is about $6 at any drugstore. Cut shapes that match your hot spot, round the corners so they don’t peel up mid-hike.
Leukotape for High-Friction Zones
Leukotape P — the athletic version, not the medical version — might be the best option here, as high-friction hiking requires something that genuinely stays put. That’s because its adhesive is aggressive enough to hold for days, through sweat, water, and repeated flexing. Heels, little toes, anywhere moleskin won’t stay. Some hikers tape their entire feet before every long hike. That’s not overkill — that’s experience talking.
Heel Lock Lacing
Most hiking boots have an extra eyelet near the ankle built specifically for this. Thread the lace through that top eyelet to create a small loop, then cross and thread through the opposite loop before tying. It cinches the heel firmly into the boot cup and dramatically cuts down on up-and-down heel movement — which, for the record, is the primary cause of heel blisters. Costs nothing to learn. Saves real pain.
Body Glide or Anti-Chafe Balm
Apply to the ankle, heel, and anywhere skin contacts the boot interior. Body Glide runs about $9 and looks exactly like a deodorant stick. Reduces friction without making your feet slippery inside the boot — that’s the balance you want. Especially useful during the early break-in days when the boot’s interior is still slightly abrasive.
The Honest Summary
Breaking in hiking boots takes time you might not feel like you have. Do it anyway. Three weeks of wearing boots around the house and on neighborhood walks is genuinely the most important thing you can do before a serious hike. That’s what makes the whole system endearing to us hikers — it’s not complicated, it’s just patience. Layer in the right socks, preemptive tape on your known hot spots, and a heel-lock lacing setup, and you’ll arrive at the summit with the same feet you started with.
The hikers I see limping down trails every August are almost always wearing boots that look brand new. Not a coincidence. Give your boots the time they need — they’ll take care of you out there.


Stay in the loop
Get the latest trail rise updates delivered to your inbox.